

Setting up a YSS shock: preload and damping step by step
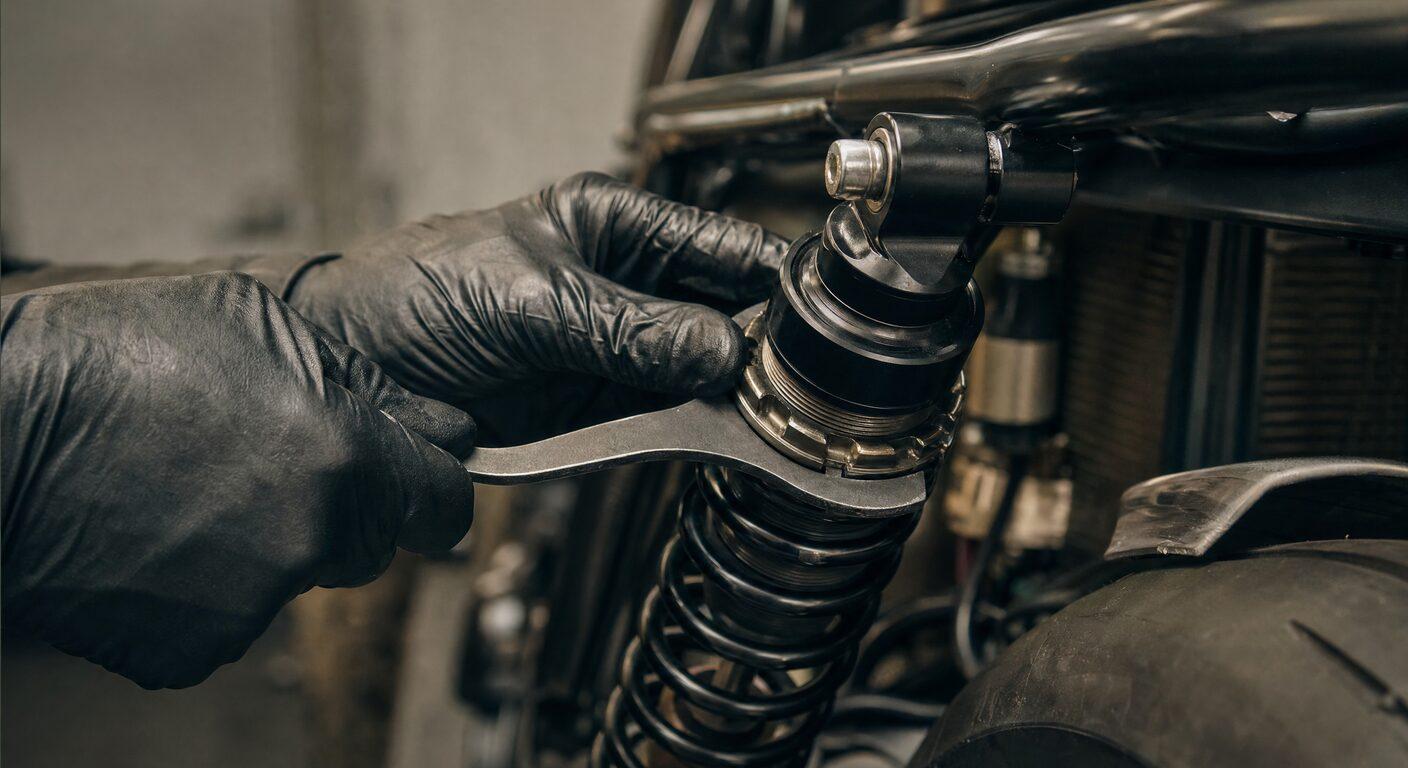
Your YSS shock is on the bike. It fits and the length is right. But the first ride does not feel the way you hoped: too hard, too soft, or the rear keeps bobbing after a bump. Time to set it up.
This guide takes you through it step by step. Preload first, then damping, and the length if your shock allows it. Still not sure which shock you need, or whether to go for YSS or Hagon? Read YSS or Hagon: which shock suits your motorcycle? first. This guide is about what you do once the shock is fitted.
What you can adjust
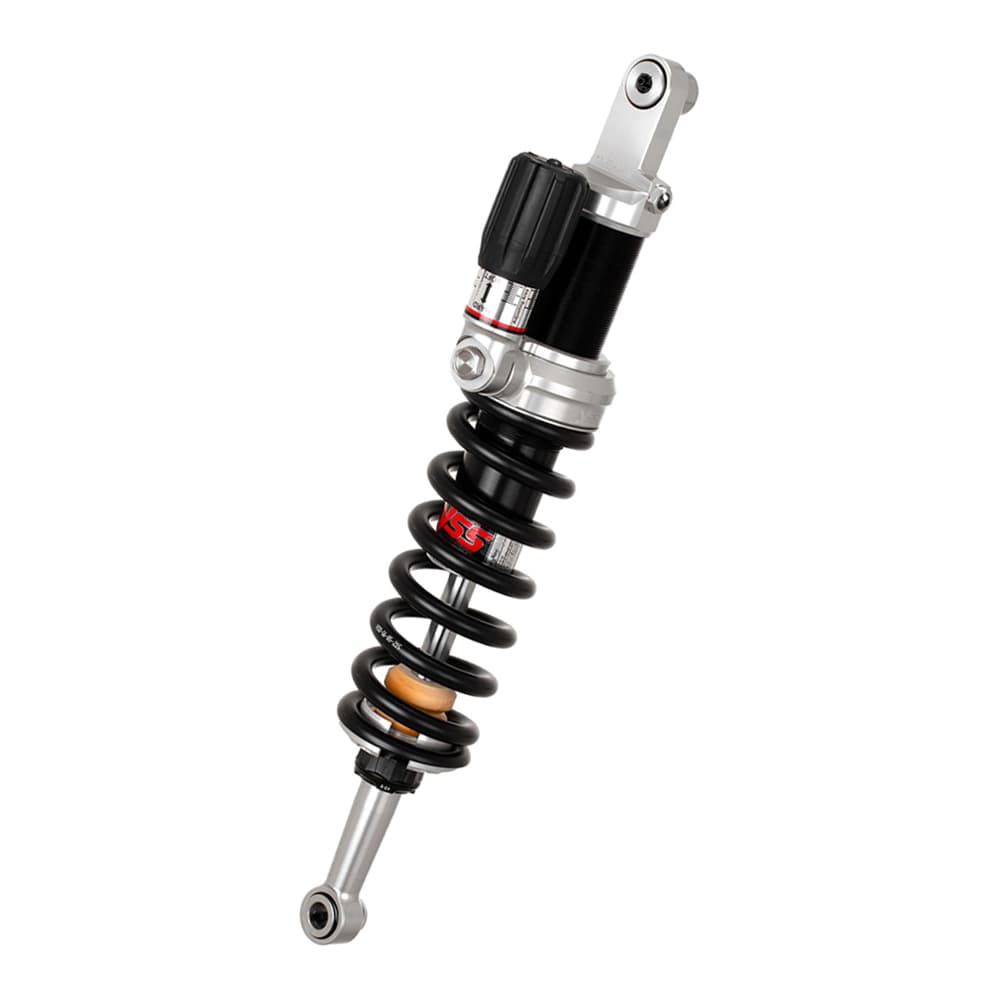
A shock has two parts that work together. The spring carries the weight. The damping slows down the movement of that spring.
- Preload: how far the spring is already compressed before you sit on the bike. More preload means the bike sinks less under your weight.
- Rebound damping: how fast the shock extends again after a bump.
- Compression damping: how fast the shock compresses when you hit a bump.
- Length: on some shocks you can adjust the length within a range.
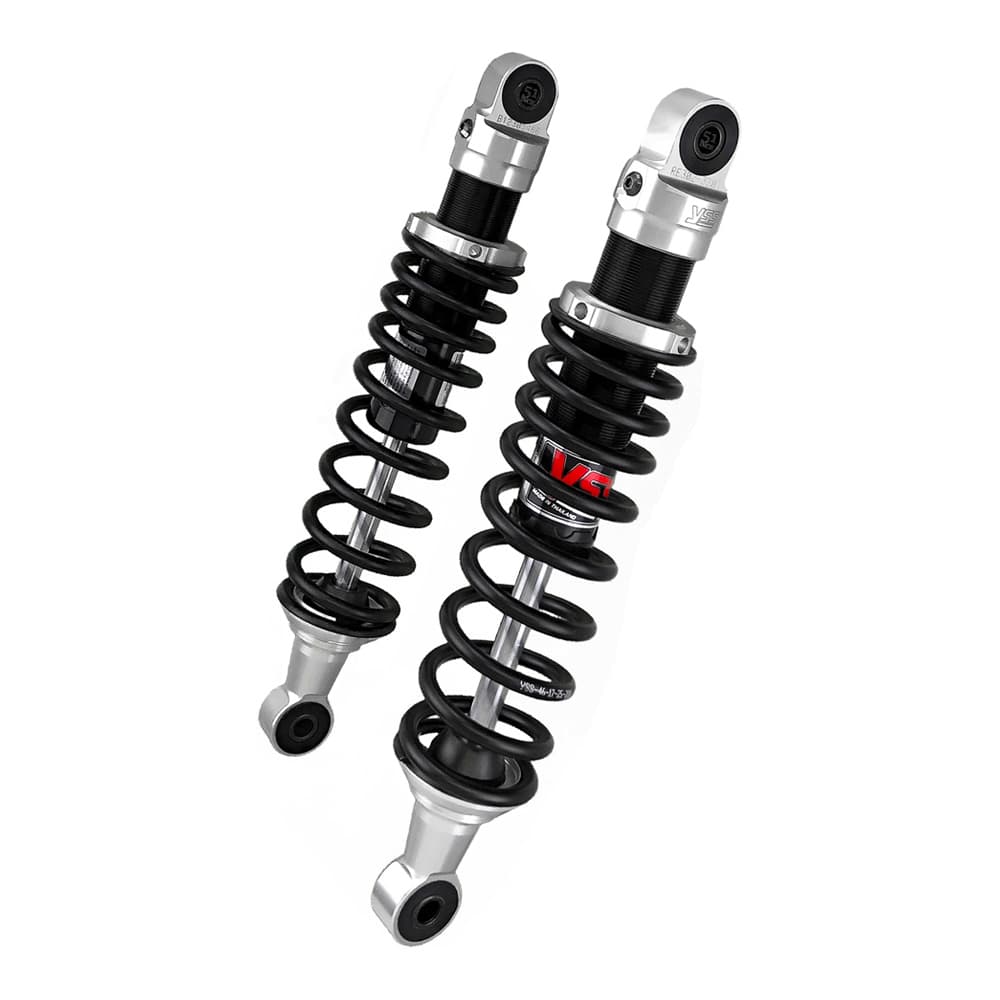
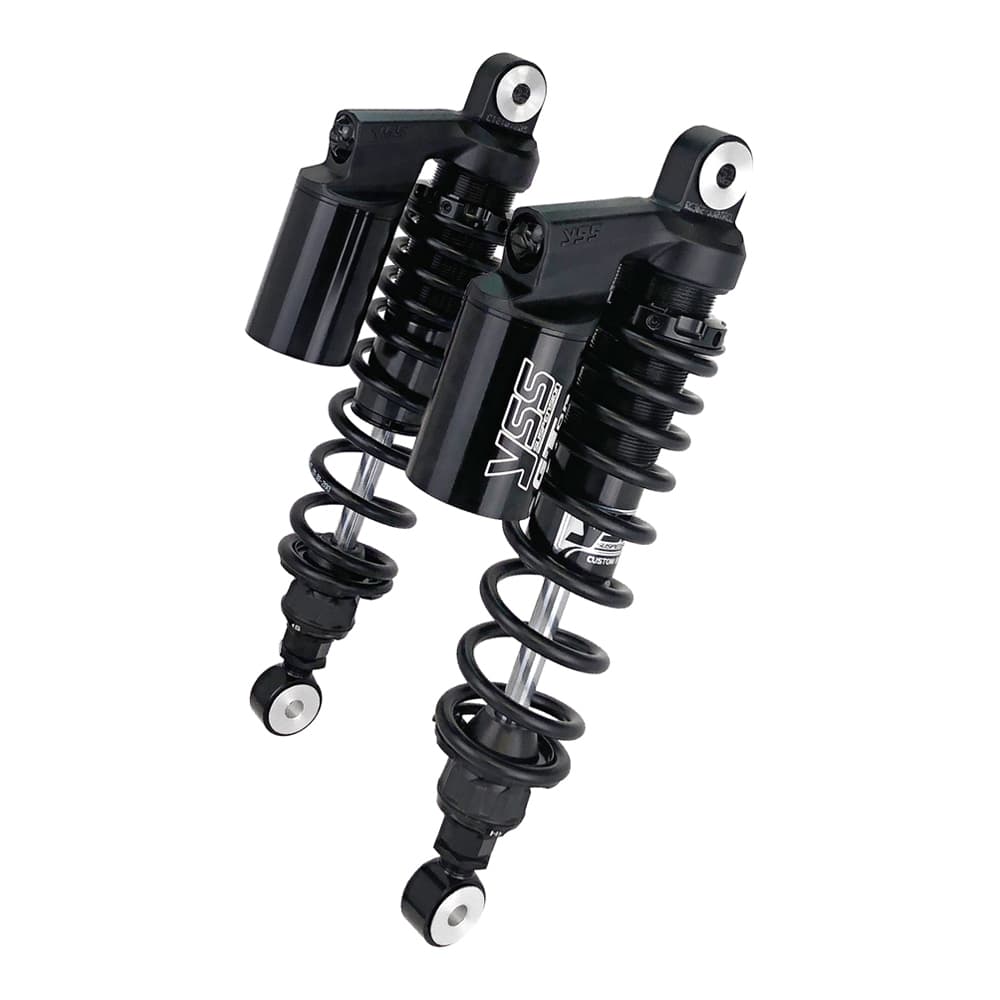
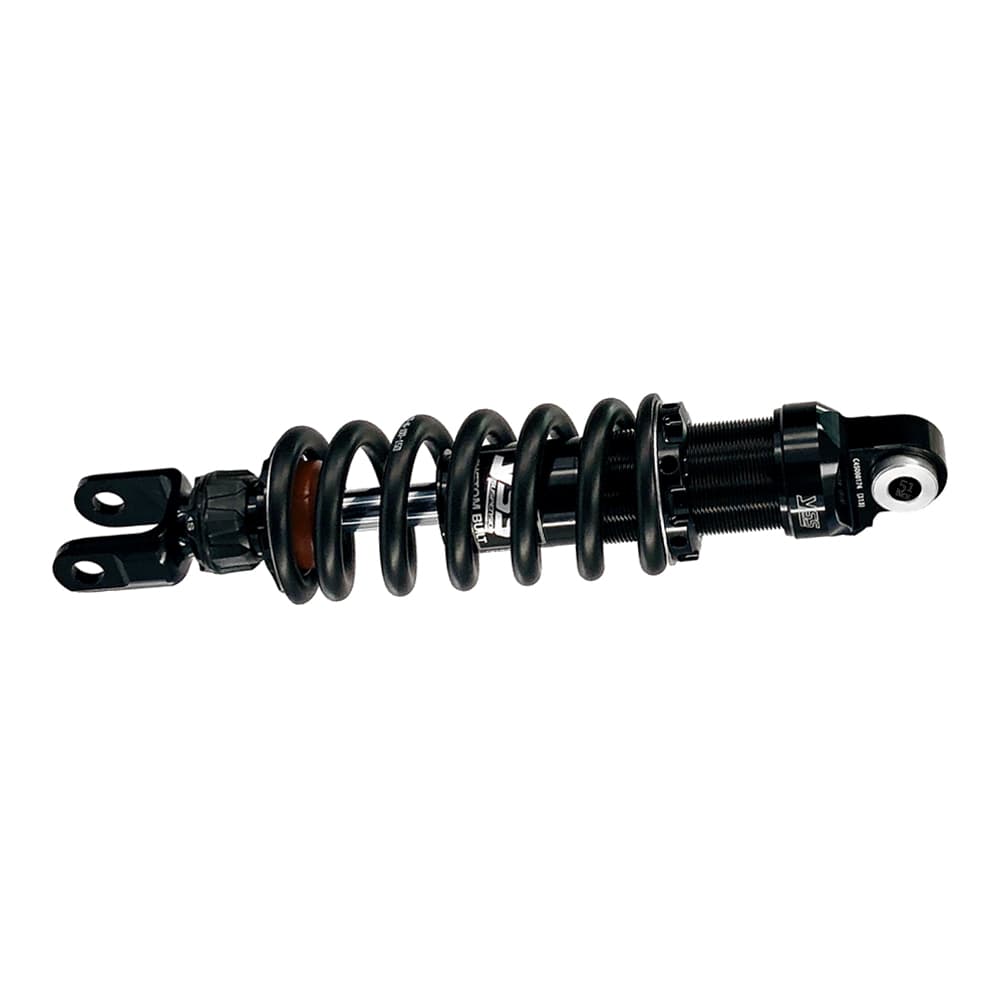
Not every shock has all four. On the YSS shocks in our shop the spring preload is adjustable, and every product page says so. Which damping adjustment is fitted differs per series and per version. The RZ362 twin shocks for the BMW R series, for example, have adjustable rebound damping in the product name. Check the product page and the manual that comes with your shock. Never adjust something if you are not sure what it does.
Preparation
Take a quiet afternoon for it. You need:
- the bike firmly on the centre stand or a lift, so it cannot fall over;
- the C spanner or the tool that comes with your shock;
- a tape measure and someone to help;
- pen and paper, or your phone for notes;
- the workshop manual of your bike, for the suspension travel and the torque settings.
Set the tyres to the right pressure. Set up the bike the way you normally ride it: with your bag, your riding gear and your usual amount of fuel. An empty bike without luggage gives a different picture from what you get on the road.
Only take a spring off a shock with a proper spring compressor. A spring is under a lot of tension. You do not need to do that to adjust the preload.
Step 1: write down the starting point
Note how the shock is set now, before you change anything. On an adjuster ring, count the visible thread or note the position of the stepped cam ring. If your shock has a damping knob, turn it gently in until it stops, without forcing it. Count the clicks or turns back to where it was. That way you can always return to the start.
Step 2: measure the sag
Sag tells you whether the preload suits your weight. You measure the same distance three times: from the centre of the rear axle straight up to a fixed point on the frame or the seat.
- Rear wheel off the ground: measurement A.
- Bike on its wheels, without rider: measurement B.
- You on the bike in riding position, someone holds it upright and measures: measurement C.
A minus C is the rider sag. A minus B is how much the bike sinks under its own weight. Many mechanics start at the rear with a rider sag of about a quarter to a third of the suspension travel. See that as a starting point, not a rule. The travel of your bike is in the workshop manual.
If the bike sinks much further, the preload is too low or the spring is too soft for your weight. If it hardly sinks at all, the preload is too high.
Step 3: set the preload
Turn the adjuster ring or the cam ring in small steps. More preload gives less sag. Less preload gives more sag. Measure again after every step and write it down.
With twin shocks, set both shocks exactly the same. A difference between left and right is something you feel in corners, and it loads the swingarm unevenly. Count the thread on both or pick the same cam position on both.
Can you not reach a good sag within the adjustment range? Then the spring does not suit your weight. Do not wind the ring to its limit, get in touch with us instead. With a Hagon you choose the spring for your weight and riding style up front. In the shock configurator you can see which route there is for your bike.
Step 4: set the damping
Start with rebound damping, if your shock has it. A simple test: push the rear down firmly and let go. The bike should come back up in one controlled movement, without bouncing. If it bounces a few times, rebound damping is too light. If it comes up slowly and sluggishly, it is set too heavy.
Then take a test ride on a road you know well, with a few bumps and corners. Watch for two things:
- The rear keeps bobbing after a bump, or the bike feels vague in fast corners: a little more rebound damping.
- The rear wheel skips over short bumps, or the suspension feels hard and harsh: a little less rebound damping, or less compression damping if your shock has that adjustment.
Change one thing at a time, in small steps. Adjust two things at once and you no longer know what made the difference. Write down every step and what you felt.
Step 5: the length, only if your shock allows it
Some YSS shocks are length adjustable. That changes the ride height and the attitude of the bike. A longer shock lifts the rear and makes the steering quicker. A shorter shock lowers it and makes the steering calmer.
Adjust in small steps and keep twin shocks exactly the same. Then check that the side stand still works properly and that the tyre does not touch anything at full compression. Tighten the lock nut as the manual says. Want a very different length, for a lower cafe racer for example? Then pick a shock in the right length from the start. The measuring guide shows you how to work it out.
Twin shock or mono shock
With twin shocks, as on a BMW R100/7, you set two shocks that have to match exactly. With a mono shock, as on a K75 or an R80 GS Paralever, there is one shock. It is often harder to reach. Make room first before you start turning, and do not force anything. When you are done, tighten everything you loosened to the torque settings in the workshop manual.
When you are done
A good setup feels calm. The bike follows the road, the rear settles straight after a bump and you do not have to think about it. Keep your notes. Measure the sag again when something changes, such as a passenger or more luggage.
Does the bike stay restless while everything is within range? Then it is often not the setup. Think of a spring that does not suit your weight, a worn shock, the swingarm bearings or the tyres. You do not adjust that away, you fix it.
The right YSS shock for your bike
Still looking for a shock? Start at the shock absorber page. Choose make, model and year and you only see what fits. All YSS shocks are together on the YSS brand page, the ones for BMW on YSS for BMW. In the shock configurator you see YSS and Hagon side by side for your bike.
Measure your current shock first and note the length and the mounts. Not sure? Send us your model and year and we will take a look.
Products for this article
Frequently asked questions
How much sag is a good starting point?+
Many mechanics start at the rear with about a quarter to a third of the suspension travel, measured with you on the bike in riding position. The travel is in the workshop manual. From there you fine tune by feel.
Do both twin shocks have to be set exactly the same?+
Yes. Set preload, damping and length the same on the left and right. You feel a difference in corners and it loads the swingarm unevenly.
How do I know which adjustment my YSS shock has?+
Check the product page and the manual that comes with the shock. Spring preload is adjustable on the YSS shocks in our shop. Damping and length adjustment differ per series and version.
What if I cannot get the sag right?+
Then the spring probably does not suit your weight or how you load the bike. Do not wind the preload to its limit. Get in touch and we will look at another spring or shock with you.