

Building a BMW K100 cafe racer: the complete step-by-step guide
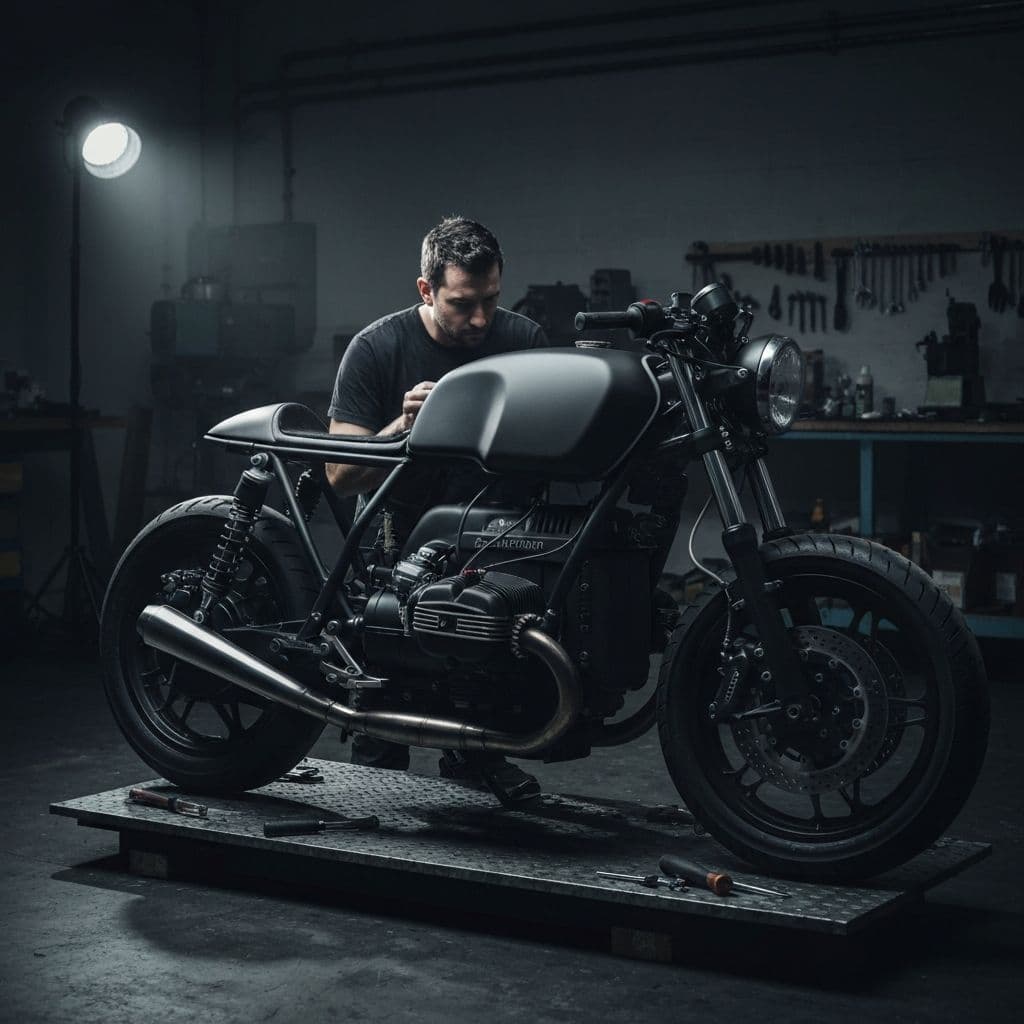
Building a BMW K100 cafe racer: the complete step-by-step guide
Building a custom K100 is one of the most rewarding projects you can take on as a builder. The BMW K100 is robust, affordable, widely available and responds beautifully to a well-thought-out conversion. But it is also a bike with quirks you need to know before you loosen the first bolt. In this guide we take you step by step through a complete cafe racer conversion, with the real numbers from the factory manual and the lessons from our own workshop in Haarlem.
Why the BMW K100 is a strong base
The K100 was built from 1982 to 1992 and quickly earned the nickname flying brick: a laid-down, water-cooled four-cylinder of 987 cc producing 90 hp. No carburetors but Bosch fuel injection, no chain but shaft drive, and a rear end with a single shock absorber (Monolever). That makes the technology low-maintenance and the bike remarkably suitable for daily use, even after forty years. This guide covers the 2-valve K100; only the late K100RS 16V (1990-1992) differs, with 100 hp, Paralever and different wheel sizes.
For a custom builder, this is what counts:
- Donor bikes are easy to find and affordable
- The engine is virtually indestructible with normal maintenance
- The shaft drive means: no chain tension and no chain grease, just the occasional final drive oil change
- Parts are still readily available
- The frame gives you plenty of freedom for a line of your own
Fair is fair: the K100 is no lightweight and the engine block dominates the view. That is exactly what makes a well-built K100 cafe racer so recognizable. You work with the character of the bike, not against it.
Step 1: buy the right donor
Everything starts with a good base. The naked K100 is the logical choice for a cafe racer: it has no fairings you would throw away anyway. A K100RS, RT or LT is technically almost identical and often cheaper, but you strip more off it. Just watch out for the late RS 16V: that one really differs technically.
What to look for when buying:
- Maintenance history. A K100 with documented maintenance is worth more than low mileage without paperwork.
- Cooling system. Check for leaks and see whether the coolant has ever been changed.
- Electrics. Working instruments, charging voltage and starting behavior tell you a lot. Electrical problems will cost you the most time later on.
- Rust and corrosion. Look at the rear frame and around the footpegs. The aluminum tank does not rust like steel, but it can oxidize internally; look into the filler opening with a flashlight.
- Running engine. Preferably buy a running bike. A non-runner is only interesting if the price truly reflects it.
If you are unsure about a symptom during a viewing, have a look at our guide on common K100 problems and solutions.
Step 2: make a plan and strip the bike
Before the wrenches come out: decide what your end goal is and what you will do yourself. Welding, painting and setting up brakes can be outsourced, and there is no shame in that. A tight plan keeps your project from stalling.
Then photograph everything during disassembly, label every connector and keep bolts sorted. The K100 has more wiring than a classic Japanese bike from the same era, and three months from now you really will not remember where that one connector went. We use the original exploded views for this: you will find all technical diagrams of the K100 organized by parts group in our library on the site, including original part numbers.
Step 3: frame and subframe
The K100 frame is a steel tube frame in which the engine block is a stressed member. The advantage: the rear frame does not carry the engine, so you can modify it without touching the load-bearing core of engine and main frame. Do know that the rear frame is welded on: shortening or replacing it always means grinding and welding. The classic cafe racer intervention is a shortened or replaced subframe with a clean, horizontal line.
Two things you need to know up front:
- Welding on the frame is skilled work. Always have a shortened subframe done or checked by an experienced welder. This is a load-bearing part you sit on.
- Think about insurance and registration. Report substantial modifications to your insurer and make sure lighting and exhaust keep meeting legal requirements.
Bare frame? This is the moment for powder coating. Everything you do properly now, you will never have to do again.
Step 4: suspension
At the front you have the original telescopic fork. It is fine, but after forty years it is due for an overhaul: new seals, new oil and possibly progressive springs. Mind the fill quantity: the K100 takes 330 ml per fork leg, the RS, RT and LT 360 ml, and BMW explicitly specifies thin fork oil according to the factory list. Common fork oil is considerably thicker than the factory intends, and you will feel that in a wooden front end.
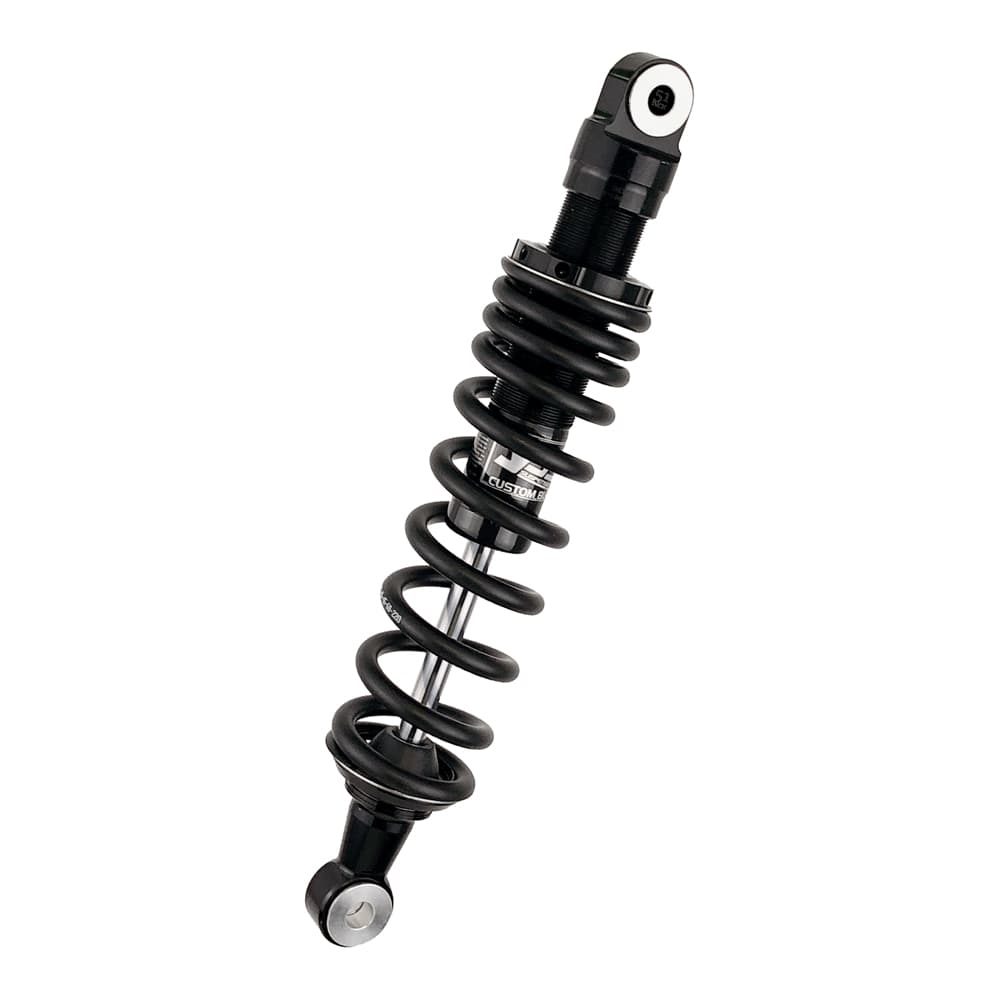
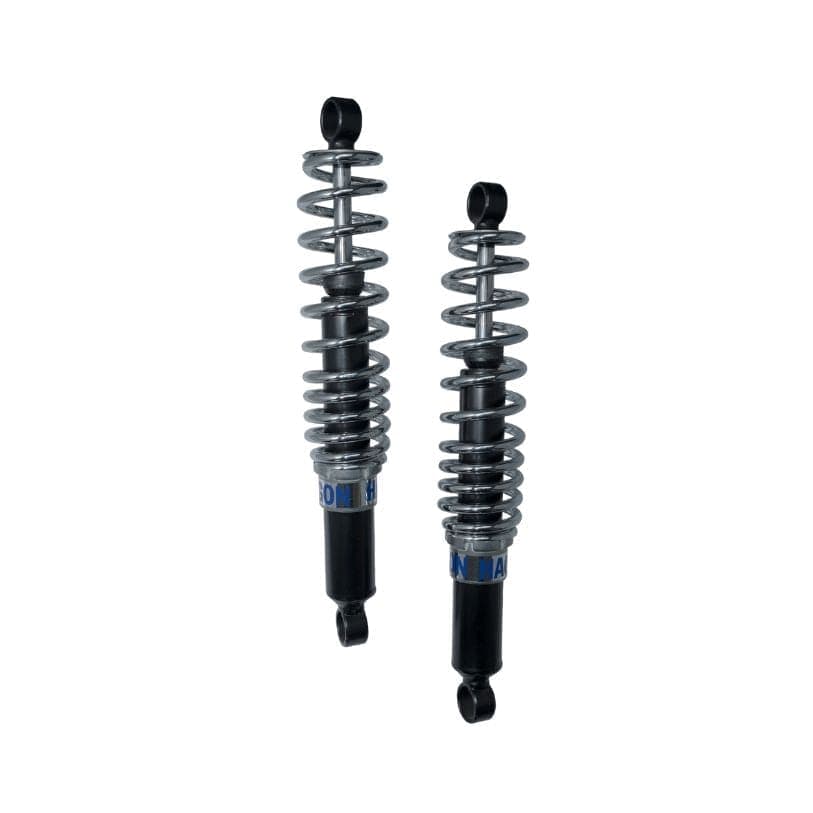
At the rear sits the Monolever with a single shock absorber, and that is immediately one of the most rewarding upgrades of the entire build. A new shock transforms how the bike rides. We fit a lot of YSS (the ME302 line for the K75 and K100) and Hagon (Mono R for the K series). Expect around 230 to 420 euros, depending on version and adjustability.
Step 5: brakes
First, let's clear up a persistent misunderstanding: every K100 has disc brakes all round. At the front two 285 mm discs with Brembo calipers, at the rear a single 285 mm disc. So there is nothing to convert, you are bringing a good system back to its best form.
The recipe: overhaul the calipers, modern sintered brake pads, braided steel brake lines and fresh DOT 4 (change it annually, says BMW itself). The torque values from the factory manual: brake disc bolts 29 Nm front and 21 Nm rear, brake caliper bolts 32 Nm. In our separate guide on upgrading K100 brakes you will find the complete step-by-step plan.
Step 6: wheels and tires
The K100 rides on an 18 inch front wheel and a 17 inch rear wheel. The factory sizes are 100/90 V18 front and 130/90 V17 rear, with 140/80 VR17 rear as an option, but only in combination with a 100/90 VR18 front tire. Stick to those sizes: they fit, they are safe and there is plenty of choice in classic tread patterns.
Tire pressure according to the factory: 2.25 bar front and 2.50 bar rear (solo, measured cold). Check your rims for dents and cracks before new rubber goes on.
Step 7: electrics
This is the step where K100 projects run aground, so read this twice.
The K100 has fuel injection with its own control unit, and that wiring has to keep functioning. So you cannot, as with a carbureted bike, pull out the complete wiring harness and start over with five wires. You leave the injection system, the ignition and the associated sensors intact, or you integrate them carefully into your new installation.
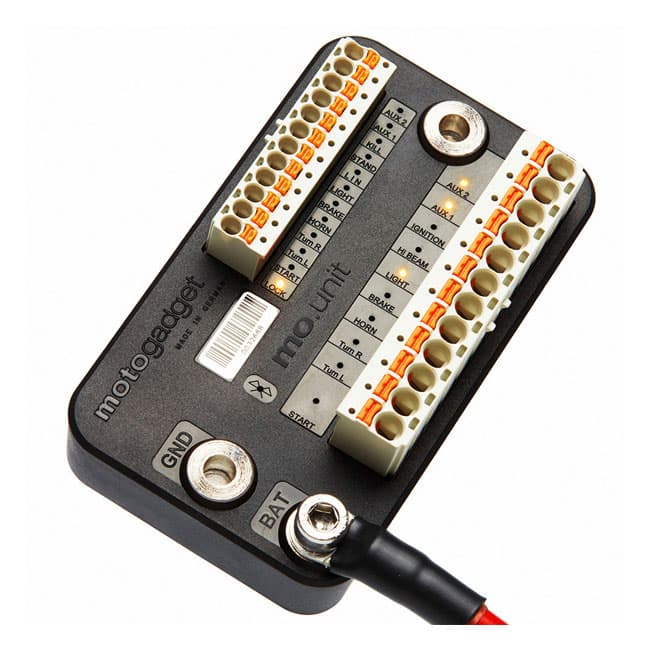
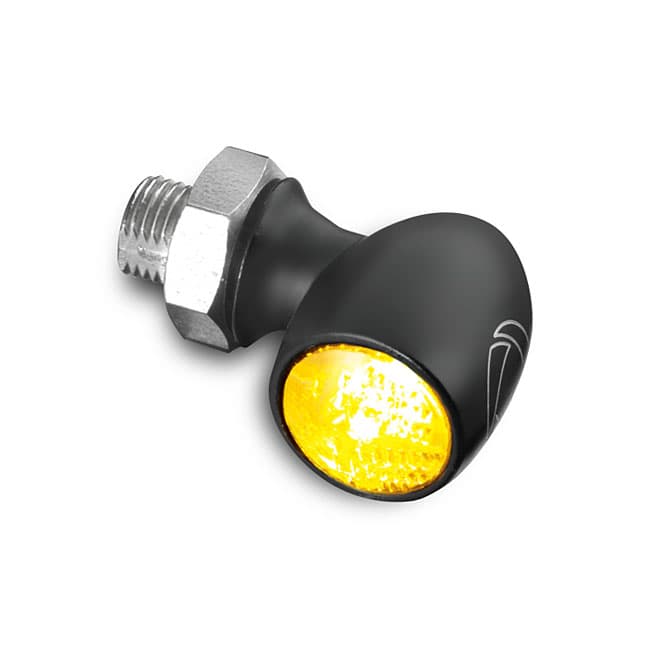
What you can do, and what we do almost as standard: rebuild the rest of the installation around a Motogadget mo.unit (the Blue costs 369 euros, the Basic 351 euros). It replaces the fuse box and relays with a compact digital control unit, and lets you keep lighting, turn signals and the starter circuit clean and light. Combine it with a Motoscope gauge (from around 290 euros) and Kellermann LED turn signals (expect around 95 euros each) and you have a cockpit and lighting that complete the minimalist look, with ECE approval.
The battery differs per model year: 20 Ah up to and including 1986, 25 Ah from 1987 and 30 Ah as an option and on the K100LT. Modern, more compact batteries often fit under the tail hump or in an electronics box under the seat.
Step 8: tank, seat and bodywork
The original 22 liter aluminum tank defines the silhouette of the K100. Many builders keep it and have it painted cleanly: the long, angular line has become a classic in its own right.
If you want a different tank, know this: the fuel pump of the K100 sits inside the tank. Fitting a random classic tank therefore also means devising a solution for the pump and the connections. It can be done, but it is not an afternoon job. Plan it as a serious part of your build or keep the original tank.
As for the seat: together with the tank, this defines your complete line. A clean cafe racer seat with a short tail hump on the new subframe, upholstered in good leather or faux leather, completes the picture.
Step 9: engine and maintenance
The beauty of the K100: the engine needs no tuning. Ninety horsepower in a stripped-down bike is more than enough. Put your energy into solid maintenance and you will have a custom that can genuinely be ridden every day:
- Valve clearance (measured cold): intake 0.15 to 0.20 mm, exhaust 0.25 to 0.30 mm
- Spark plugs: Bosch X5DC or NGK D7EA, electrode gap 0.6 mm, tighten to 20 Nm
- Engine oil: 3.75 liters with filter
- Gearbox: 0.85 liters, final drive: 0.26 liters (both GL-5 hypoid oil)
- Coolant: 2.8 liters plus 0.4 liters in the expansion tank
- Idle speed: 950 revolutions per minute
All straight from the factory manual. On our site you will find the complete K100 service overview with all fluids and torque values, checked by our workshop and free to download.
Step 10: exhaust
The original exhaust is heavy and almost always comes off the bike. A 4-into-1 system with a compact muffler suits the cafe racer line best and saves kilos. When choosing, pay attention to two things: the sound has to suit the bike, and you have to get through the noise check with it. An exhaust with ECE approval prevents discussions at the roadside.
Step 11: finishing and detail
Now comes the difference between finished and truly finished. Have the paintwork done professionally: a classic color, matte black or a period BMW shade looks beautiful on the K100. Powder coat the frame, polish or blast the aluminum parts and replace weathered bolts with new stainless steel.
This is where we at Dapper Motor put most of our time. Not because we have to, but because you can see the difference. Every detail counts.
Step 12: first ride and setup
Before the first ride, check everything:
- Brakes: pressure at the lever and the pedal, no leaks, bed in the pads over the first few hundred kilometers
- Electrics: all lighting, horn and charging voltage
- Bolts: all load-bearing parts torqued to spec
- Tires: pressure at 2.25 and 2.50 bar
- Fluids: level of oil, coolant and brake fluid
Take the first rides calmly and listen to the bike. Small adjustments after the first hundred kilometers are perfectly normal: spring preload, handlebar angle, lever positions. That is part of the process.
What does it cost to build a K100 cafe racer?
An honest answer, because this is where many lists on the internet go wrong. Based on what we see in practice:
- Donor bike: around 1,000 to 2,500 euros for a good running base; for a top example with history you will pay towards 3,500 euros
- Rear shock: 230 to 420 euros
- Electrics (mo.unit, gauge, lighting): 800 to 1,200 euros
- Brake overhaul (lines, pads, rebuild kits): 300 to 600 euros
- Tires: 250 to 400 euros per set
- Seat, subframe and small materials: 500 to 1,500 euros
- Paint and powder coating: 1,000 to 2,500 euros, depending on what you outsource
A solid build therefore ends up somewhere between 5,000 and 10,000 euros including the donor. It can be cheaper if you do more yourself and buy smarter, and it can always be more expensive. But this is the realistic range.
How much time does it take?
Count on 150 to 300 hours for a complete conversion, spread over months. Not because it is difficult, but because good work takes time: waiting for parts, waiting for the painter, and doing things twice because the first time was not quite good enough.
The mistakes you want to avoid
- Underestimating the electrics. By far the most common reason K100 projects stall. Plan this as a full step.
- Wanting to rip out the injection. The injection is actually one of the strong points of this bike. Work with it, not against it.
- Cheap critical parts. Never cut corners on brakes, tires and suspension. Those are the parts your life depends on.
- Starting to grind without a plan. Every bracket you grind off may turn out to be a mounting point you needed later.
- Wanting everything at once. Build in phases and test in between. A bike that has already run halfway through the build is a project that gets finished.
Rather have it built? Our signature builds
Do you want a custom K100, but not months of wrenching yourself? In our atelier we build it for you. As a starting point we have six signature builds, each with its own character: Double Black, Stahlross, Rouge, Graphite, Midnight Blue and Nightshift. Five are built on the K100, Stahlross on the R100. View the example designs in our atelier for the details and finishes, or request a build quote right away. Then we will discuss your build together, from donor choice to first ride.
Come visit Dapper Motor
We build custom BMWs ourselves in our workshop in Haarlem and supply the parts we work with ourselves: YSS and Hagon suspension, Motogadget electronics, Kellermann lighting and everything around them. Walk in with your questions or your donor choice, or send us a message about your project. We are happy to think along with you, from first sketch to first ride.
Every detail, every story. Pure and made to measure.
Products from this article
Frequently asked questions
How much does it cost to build a BMW K100 cafe racer?+
A realistic build ends up between 5,000 and 10,000 euros including the donor bike. The donor costs 1,000 to 2,500 euros; the biggest items after that are electrics (800 to 1,200 euros), paint and powder coating (1,000 to 2,500 euros) and suspension, brakes and tires. Doing more yourself lowers the cost, outsourcing and premium parts raise it.
Is the BMW K100 suitable as a first project bike?+
Yes, with one caveat. The engine is virtually indestructible with normal maintenance, parts are readily available and there is plenty of documentation. But the K100 has fuel injection, and that wiring has to stay intact. If you take the electrics seriously and build in phases, the K100 makes a rewarding first project.
Which K100 variant is the best base for a cafe racer?+
The naked K100 is the logical choice: no fairings you would remove anyway. A K100RS, RT or LT is technically almost identical and often cheaper to buy, but you will spend more time disassembling and end up with more leftover parts. Only the late K100RS 16V (1990-1992) differs technically.
Am I allowed to modify the frame of my K100?+
Shortening or replacing the subframe is common in cafe racer conversions. Always have load-bearing welding done or checked by an experienced welder, keep lighting and exhaust within legal requirements and report substantial modifications to your insurer. That way your custom K100 stays insured out on the road.