
The Adler Rik restored, step by step
Long before the first BMW K100 rolled out of the workshop, there was an Adler. A classic German lightweight that Rik de Gooijer found tired, incomplete and half-forgotten, and brought back to its former glory entirely by hand. This is the project where the craft behind Dapper Motor began, and it still shows in every build we deliver today.
We kept the camera close throughout. What follows are eleven images from the restoration, in order, from the moment the bike was stripped to the bolt until it stood road-ready again.
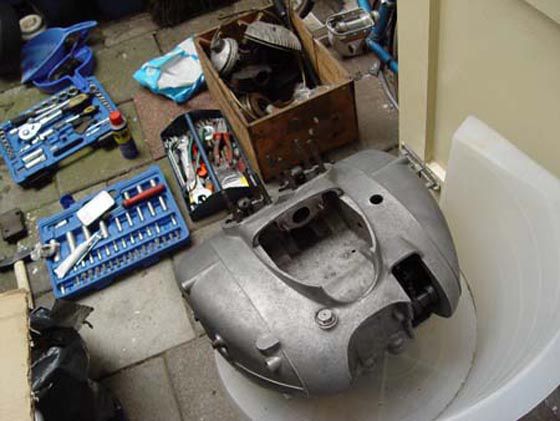
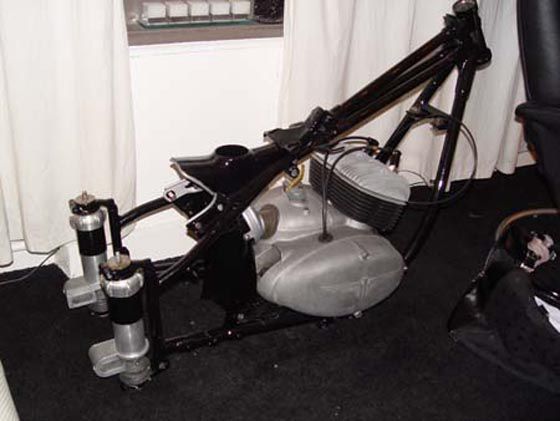
01 — Stripped down to the last bolt
Every restoration starts with honesty. The Adler came apart completely, down to the last bolt, so nothing could hide. Only with a bare frame in front of you do you see what you are really dealing with.
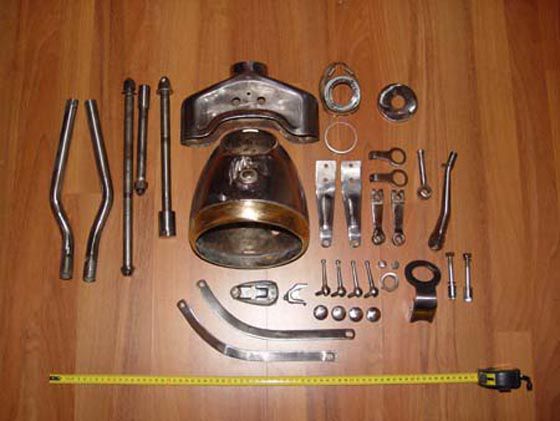
02 — Every part measured and catalogued
Each component was measured, photographed and catalogued. Knowing exactly what you have, and what is missing, is what separates a real restoration from a patch-up job.
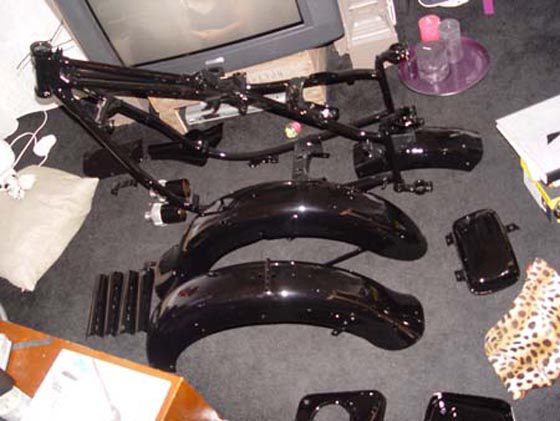
03 — Frame and fenders repainted
With the frame blasted clean, the foundation could be laid. Frame and fenders were repainted properly, the way they were meant to look when the bike left the factory.
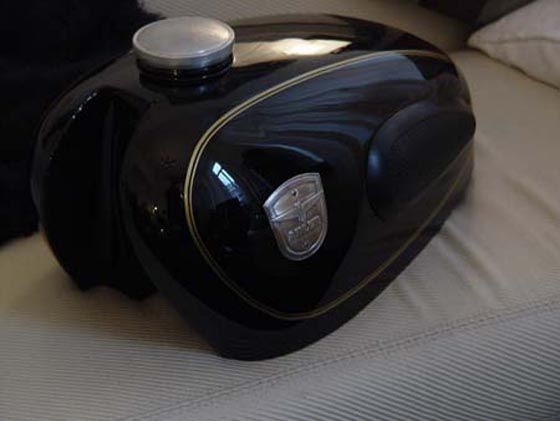
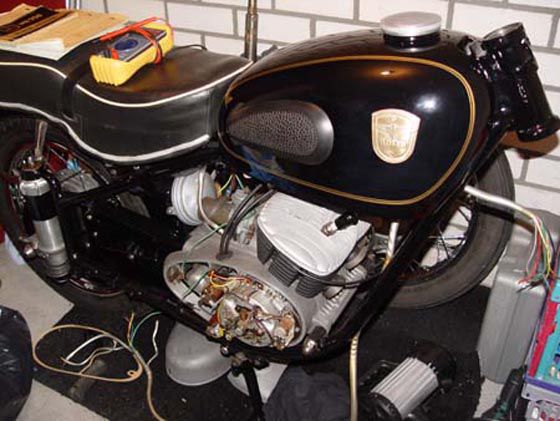
04 — Tank in deep black with a gold pinstripe
The tank sets the tone for the whole machine. Finished in deep black with a hand-laid gold pinstripe, it is the detail that turns a restoration into something with character.
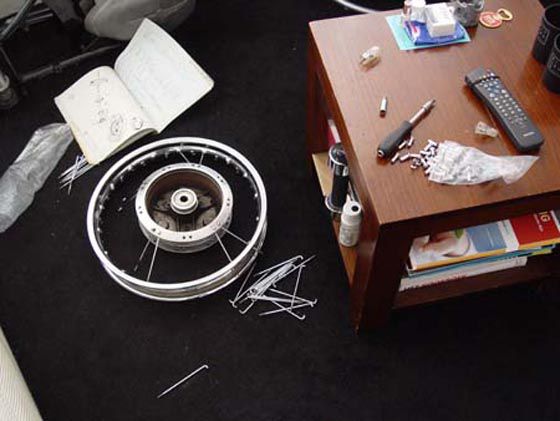
05 — Wheels laced by hand
No shortcuts here. The wheels were laced by hand, spoke by spoke, then trued until they ran dead straight. It is slow work, and it is the only way to do it right.
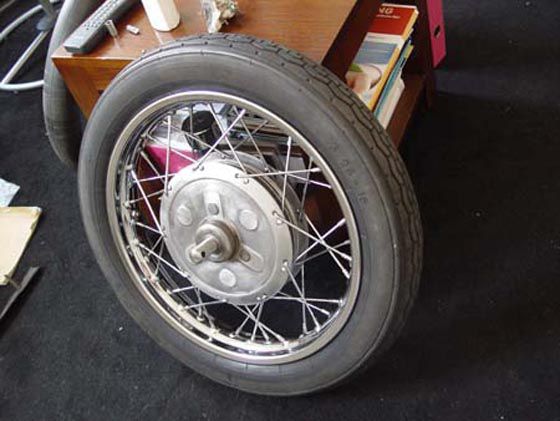
06 — Fresh rubber, trued and aligned
New tyres went on and everything was aligned. A classic only feels right on the road when the wheels track true and the geometry is honest.
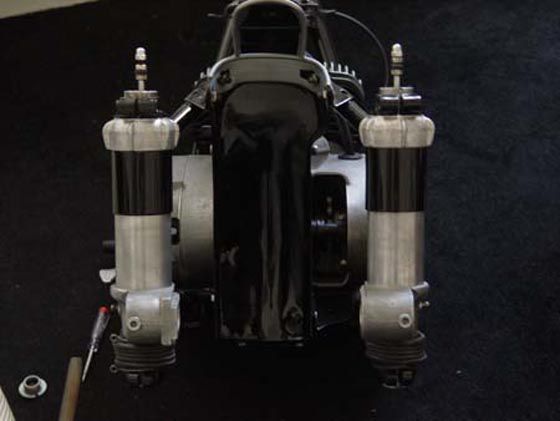
07 — Rebuilt suspension back in place
The suspension was rebuilt and refitted. Worn parts were replaced, not papered over, so the bike would ride the way it should rather than just look the part.
08 — Engine back in the frame
A milestone moment: the engine back in the frame. After cleaning, checking and refreshing, the heart of the Adler returned to where it belongs.
09 — Wiring and final assembly
Then the patient work of wiring and final assembly. Every cable routed neatly, every connection sound, nothing left to chance.
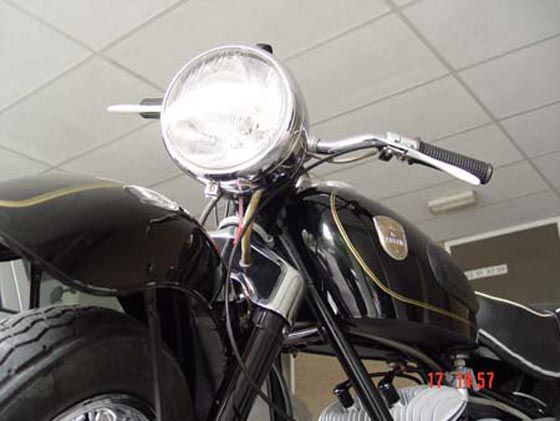
10 — Headlight and details finished
In the final stretch the details make the difference. Headlight fitted, trim finished, the small touches that make the whole bike read as one considered piece.
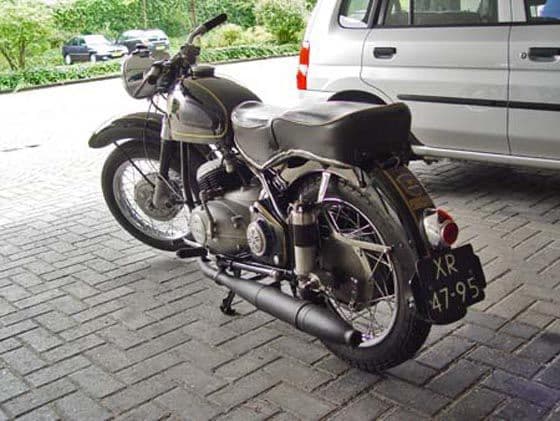
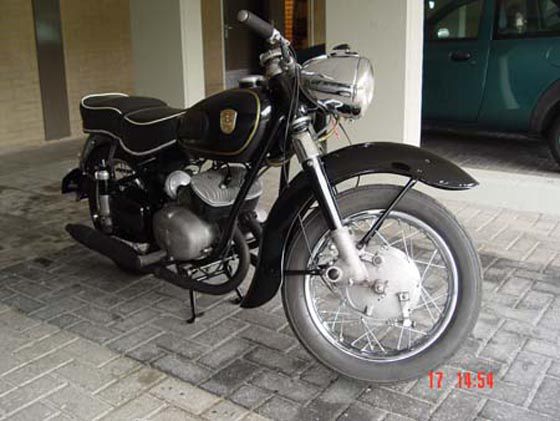
11 — Road-ready, restored to former glory
And there it stood: road-ready, restored to its former glory. A piece of history saved by hand, and the quiet start of everything Dapper Motor would go on to build.
This is the same hand, the same patience and the same standard that goes into every Dapper Motor today. If you want a machine built with this kind of care, start your own build with us.